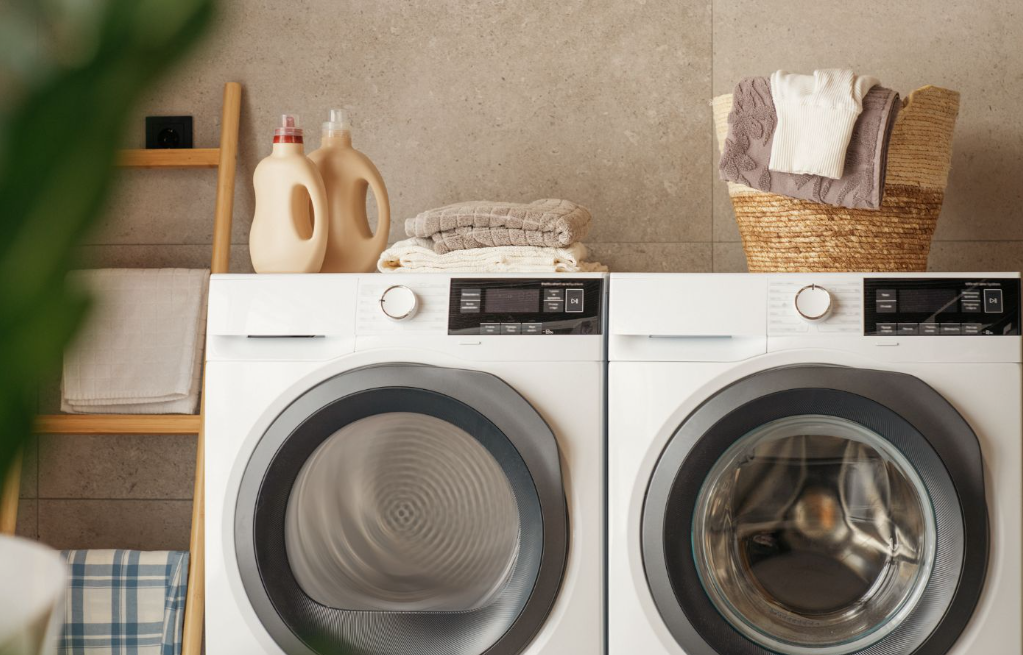
Is your dryer playing hard to get when it comes to drying your clothes? Don’t let damp laundry rain on your parade! We understand the frustration of dealing with a dryer not drying situation. But worry not, because we’re here to be your appliance-saving superheroes. Let’s roll up our sleeves and dive into the world of dryers, lint traps, and all things laundry.
Cleaning a Dryer Lint Trap
Ah, the unsung hero of your dryer the lint trap. It quietly collects all those tiny fabric fibers and fuzz that try to escape during the drying process. But when this lint trap gets clogged, it can put a real damper on your laundry routine. Let’s explore the ins and outs of how to clean a dryer lint trap like a seasoned pro.
Step 1: Unplug and Prioritize Safety
Safety first, always. Before embarking on your lint-trap-cleaning adventure, unplug your dryer from its power source. We’re all about smooth sailing, and that starts with ensuring your well-being.
Step 2: Spotting the Lint Trap’s Hideout
Locating your dryer’s lint trap is your first mission. Depending on the make and model, you’ll typically find it either on top of the dryer or inside the door frame. Once located, gently remove it the hero is ready for action.
Step 3: A Hands-On Approach
Now for the fun part getting hands-on with your lint trap. Start by pulling out any visible lint. But don’t stop there; give it a gentle scrub to loosen up any stubborn lint clinging for dear life.
Step 4: The Spa Treatment
Your lint trap deserves a little pampering. Fill your sink with warm water and add a few drops of mild dish soap. Give your lint trap a soak for around 10 to 15 minutes. This spa session will help soften up any residue and make cleaning a breeze.
Step 5: The Scrub Down
Equipped with a soft brush or an old toothbrush, it’s time to give your lint trap a good scrubbing. Be gentle yet thorough, ensuring you remove all remaining debris without damaging the screen.
Step 6: Rinse and Dry Dance
With the scrubbing complete, give your lint trap a hearty rinse with warm water. Make sure no soapy residue lingers. Once rinsed, pat it dry with a clean towel or let it air dry completely before reuniting it with your dryer.
Step 7: Back to Business
With your lint trap now rejuvenated, it’s time to reunite it with its dryer companion. Slide it back into place, knowing you’ve just taken a big step toward restoring your dryer’s optimal performance.
Extra Tips for a Super Dryer
Your lint trap is squeaky clean, but let’s up the ante for exceptional drying experiences:
Vent Check-Up
A clogged dryer exhaust hose can throw a wrench in your drying game. Over time, lint accumulates here, obstructing airflow and prolonging drying times. Regularly cleaning your exhaust hose can be a game-changer in keeping your dryer on point.
Embrace Adequate Airflow
Resist the urge to cram your dryer with clothes. Allow for some breathing room to ensure proper airflow and efficient drying. Your clothes will thank you with quicker drying times and fluffier results.
Summon the Pros: Dryer Repair in Charlotte, NC
In the face of persistent drying troubles, it might be time to call in reinforcements. If you’re in Charlotte, NC, and your dryer is still giving you the cold shoulder, our team specializes in dryer repair. Our experts will diagnose the issue and have your dryer singing its drying anthem once more.
In a Nutshell
Dealing with a dryer not drying ordeal can be a head-scratcher, but with a spotless lint trap, regular maintenance, and a dash of professional expertise if needed, you’ll soon have your dryer back in action. Remember, a well-maintained dryer isn’t just efficient it’s also a ticket to extending the lifespan of your trusty appliance. So there you have it, the secrets to conquering the dryer dilemma and reveling in the joy of dry, cozy laundry once again.
